Ubuntu Wireguard
Setting Up Wireguard Client with PFSense
Configuring the Client
You need a few pieces of information to configure the client and server. This documentation is just for the client side.
-
Install
wireguardandwireguard-toolssudo apt-get install wireguard wireguard-tools -
Generate a public and private key. This can be done on any system that has "wireguard-tools" installed
wg genkey | tee privatekey | wg pubkey > publickeyThe private key goes to the client, the public key goes to the Wireguard server configurations. See the Configuring PFSense section for details on where to use this Public Key.
-
Start with a basic Wireguard template, save as
wg0.conf[Interface] PrivateKey = <Client Private Key from Step 2> ListenPort = 51820 Address = 192.168.50.<NEXT FREE IP>/24 DNS = 192.168.1.1 #DNS Server available to the network [Peer] PublicKey = <Tunnel Public Key from Wireguard Server> AllowedIPs = 192.168.50.0/24, 192.168.3.0/24, 192.168.1.0/24 # Comma delimited list of networks/hosts to give client routes to Endpoint = <Wireguard Public IP Endpoint>:51820 -
In Ubuntu's case, you must link the
resolvectlbinary to theresolvconfbinary thatwg-quickassumes is used.sudo ln -s /usr/bin/resolvectl /usr/local/bin/resolvconf -
To test the configuration:
wg-quick up ./wg0.conf ping 192.168.50.1 ip route # Look for routes that go through wg0 interfaces wg-quick down ./wg0.conf -
Make the configuration persistent on the client: Then move your configuration file to the
/etc/wireguard/directory to enable an auto startup of the VPN on system boot.sudo mv ./wg0.conf /etc/wireguard/wg0.conf sudo systemctl enable wg-quick@wg0.service sudo systemctl daemon-reload sudo systemctl start wg-quick@wg0
Configuring PFSense
Configuring Wireguard
- Install the package via
System > Package Manager > Wireguard - Browse to
VPN > Wireguard - Add a tunnel
- Generate a
key pair(Configuration and Peers to be configured later). The public key from this is needed in Configuring the Peers - Set allowed IPs to be a NetworkID/netmask in CIDR notation (
192.168.50.0/24) - Add
Firewall > Rules > WANto allow 51280 to an IP on PFSense to be routed to Wireguard. - Add
Firewall > Rules > Wireguard/Optto allow Wireguard traffic to appropriate resources on other network interfaces.
Configuring Tunnel
-
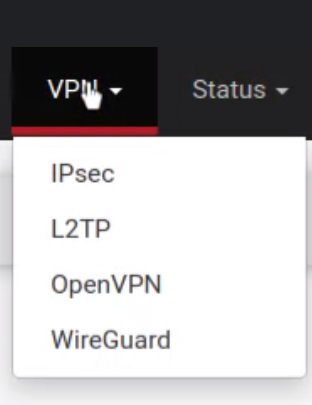
Browse to
VPN > Wireguard
-
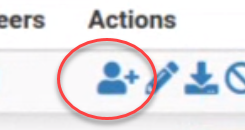
Click the person+ icon to the right of the tunnel

-
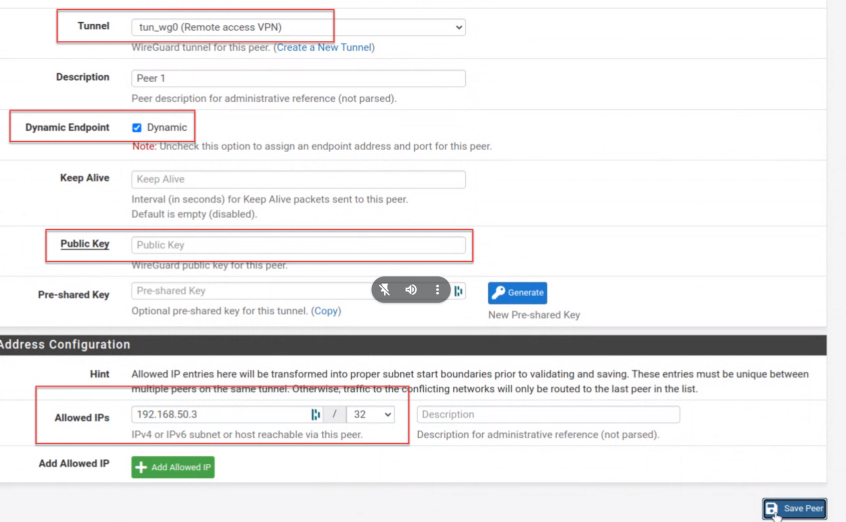
Set a Description, Tunnel (Created in above section), check Dynamic Endpoint, and copy in Public Key from peer. This value comes from the Configuring the Client page.
-
Set an IP address for the peer, this is unique to the peer and should be the IP/Mask in CIDR notation
192.168.50.3/32